Installation is where
quality is made or lost.
Every roofing material performs exactly as well as the crew that installs it. The specifications, the sequences, the details — that's what separates a roof that performs for 50 years from one that fails in ten.
A roof is only as good as its installation.
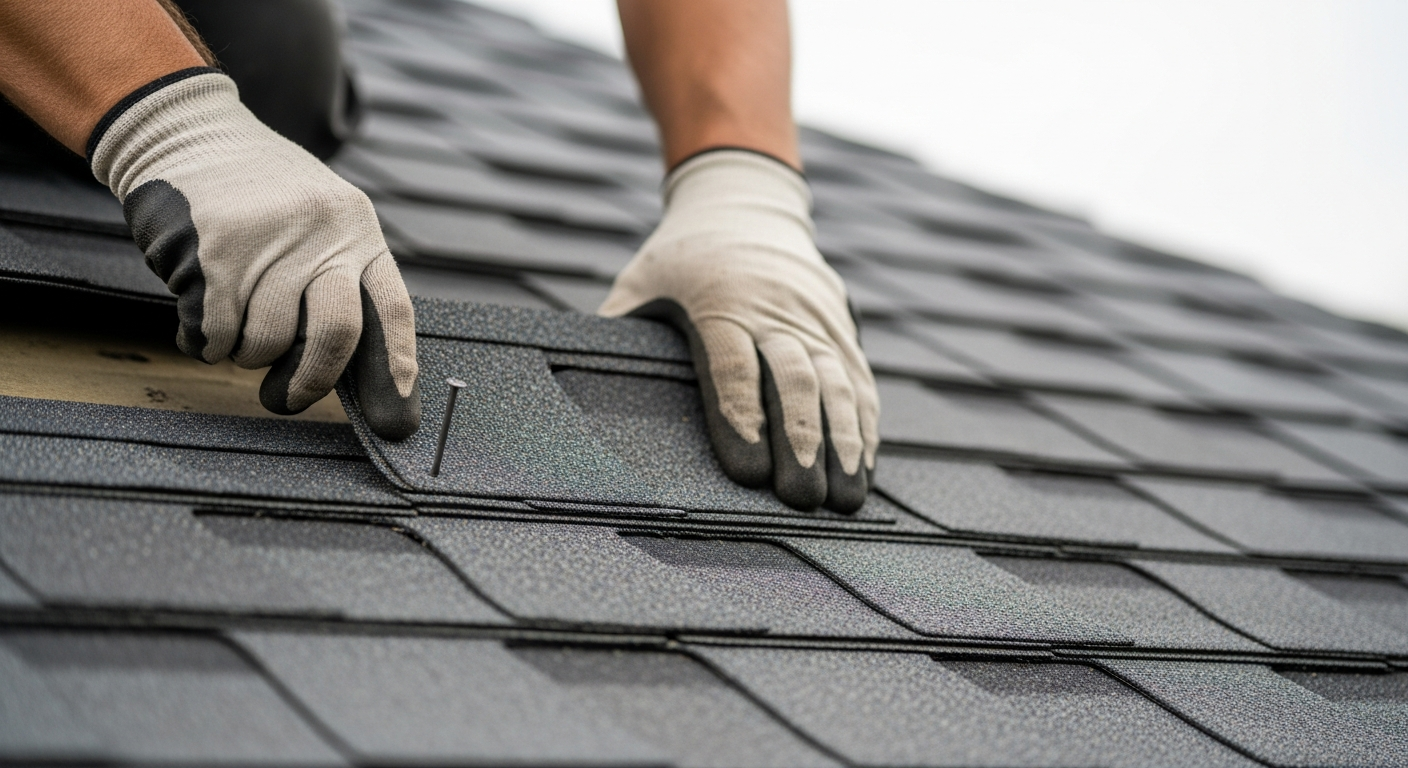
Roof installation is the execution phase of a complete roof replacement project — and the phase where the most consequential decisions are made. The material selection matters, but it's the installation quality that determines whether the system performs to its rated lifespan or fails early.
Improper fastener placement voids manufacturer warranties. Inadequate ice guard at eaves allows freeze-thaw water infiltration. Improperly integrated flashing around penetrations creates chronic leak points that won't be visible until significant damage has occurred.
Our installation crews are trained, certified, and supervised by project managers on every job. We follow manufacturer installation specifications exactly — because our warranty coverage requires it, and because it's the right way to build.
Discuss your projectGAF Master Elite certified
Installation certification required for the highest warranty tier available. Top 2% of contractors nationally.
Layer-by-layer quality control
Each layer is inspected before the next is applied. Ice guard, underlayment, flashing, and cap shingles — each stage documented.
Manufacturer specification compliance
Every installation follows the manufacturer's published specifications exactly — not approximations. This is a warranty requirement and a quality floor.
W-2 installation crews only
No subcontractors. Every installer is a direct employee who completes our internal training before leading field work.
What a complete installation includes
Decking Preparation
Inspection and repair of all substrate before any new material is installed. Soft spots, delamination, and rot are replaced — not covered.
Ice & Water Shield
Self-adhering waterproof membrane at all eaves, valleys, and penetrations — minimum 3' up from the eave, full valley coverage.
Synthetic Underlayment
Breathable polymer underlayment over the full field — superior moisture resistance and tear strength versus standard felt.
Drip Edge & Starter Strip
Galvanized drip edge at all eaves and rakes. Pre-formed starter course for proper first-course adhesion and wind resistance.
Field Shingles
Installed to manufacturer's fastener pattern, exposure, and offset specifications. No shortcuts on layout — it affects wind resistance and aesthetics.
Ridge Ventilation
Continuous ridge vent balanced with soffit intake. Proper ventilation extends system life and is required for warranty coverage.
The order of operations is the system.
Each layer of a roofing system depends on the layer beneath it being installed correctly. A premium shingle installed over improperly applied ice guard, or a ridge cap installed before the field shingles are secured, creates compounding failure risks. Our crew leaders follow a documented installation sequence — and sign off on each stage before the next begins.
Staged quality checkpoints
The project manager reviews the roof at the substrate, underlayment, and field stages before sign-off to advance.
Manufacturer rep verification available
For projects requiring the highest warranty tier, we can arrange a manufacturer's representative to verify installation compliance at completion.
Documented close-out
Every installation is photographed at completion. The warranty package includes the full photo record, material data sheets, and signed workmanship certificate.

From bare deck to finished system
Substrate Preparation
The installation surface is inspected and prepared. All decking defects are repaired. The surface is clean, dry, and level before any new material is applied.
Waterproofing Layer
Ice and water shield is applied at all eaves, valleys, dormers, and penetrations. This self-adhering layer is the last line of defense against water infiltration.
Underlayment
Synthetic underlayment is installed over the full field in overlapping courses, secured per manufacturer specification. The roof is fully weatherproof at this stage.
Flashing Installation
All drip edge, step flashing, counter flashing, and penetration flashings are installed before field shingles begin. Flashing is metal — not caulk-based.
Field Installation
Shingles are installed per layout from starter to ridge — fastener pattern, exposure, and offset following manufacturer specification exactly. Quality checkpoint before ridge work begins.
Ridge & Final Inspection
Ridge ventilation and cap shingles installed. Site cleanup, magnetic sweep, and project manager sign-off. Warranty documentation issued.
Roof installation questions
Ready to schedule your installation?
Request a free site assessment and proposal within 48 hours.